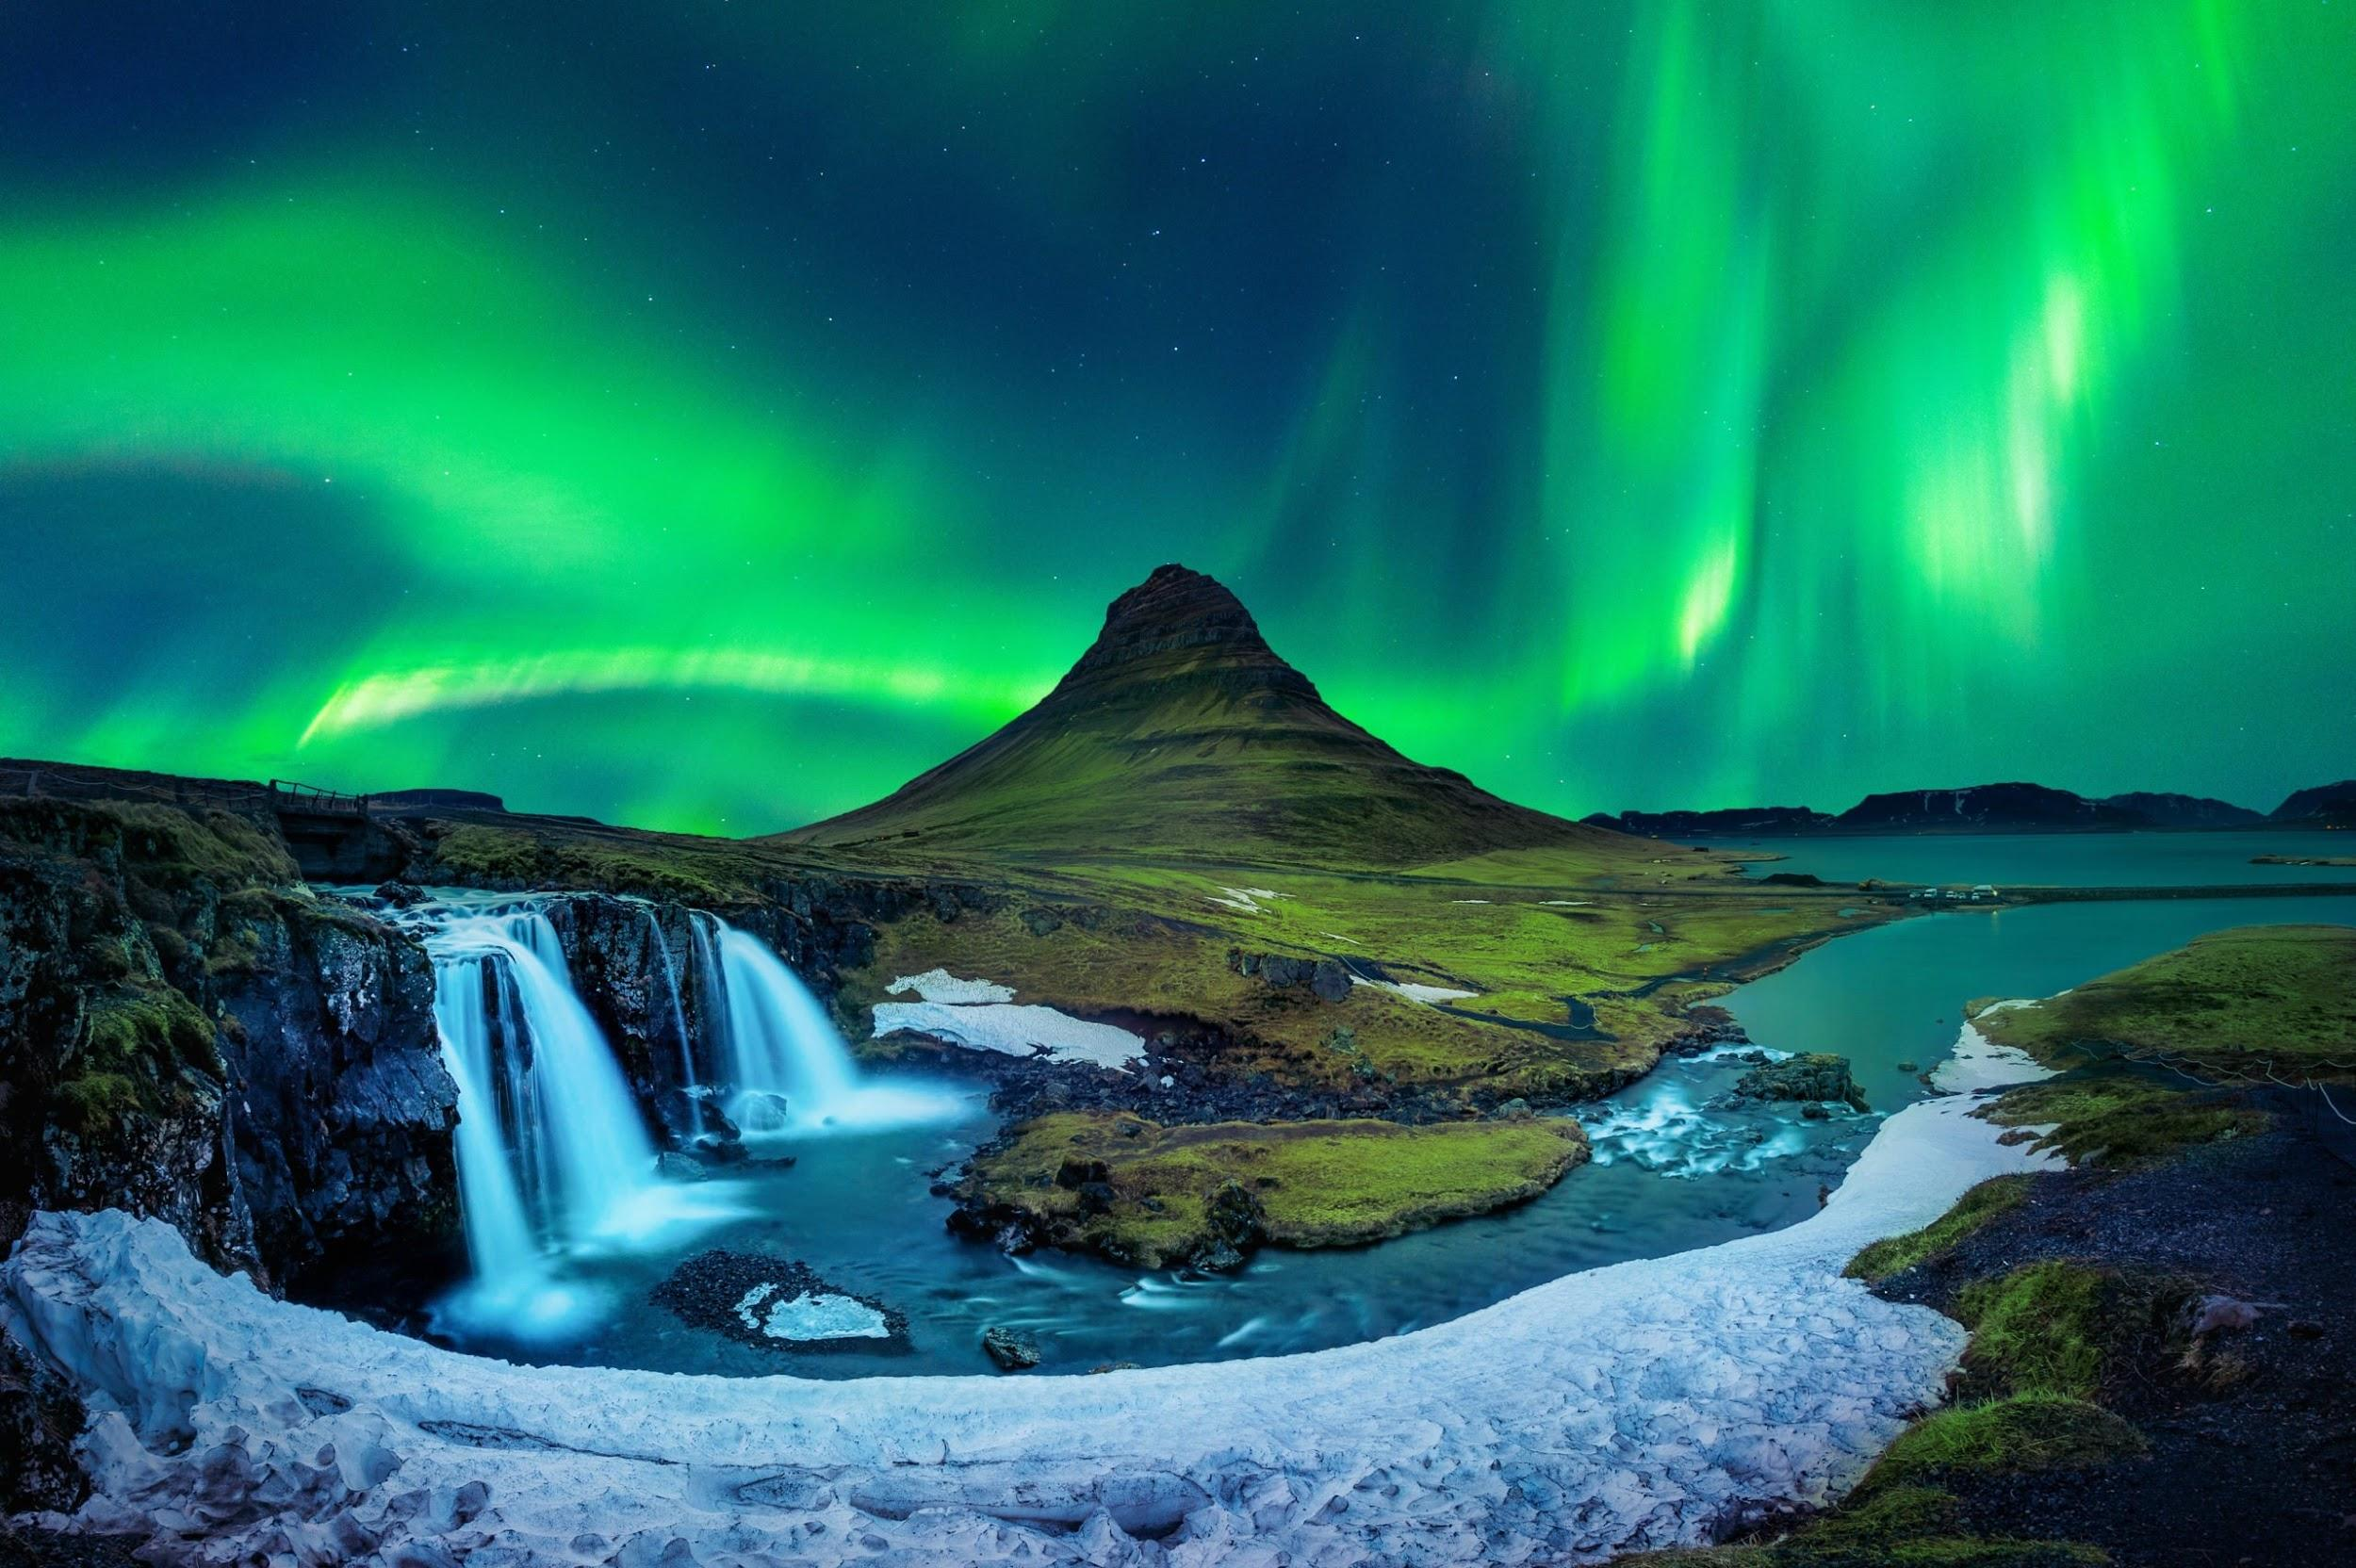
HOW TO PHOTO THE NORTH LIGHTS
Perhaps one of the most liked photos on the internet and on social media is those wonderful photos of the ‘Northern Lights’ dancing. So how can we shoot these lights, which are always in motion, in the dark? Here are the details…
We strongly recommend that you learn how to photograph the northern lights before you go, because the lights can go out until you figure it out, a situation that happens to those who go many times. You go consciously so that you don’t come back empty-handed.
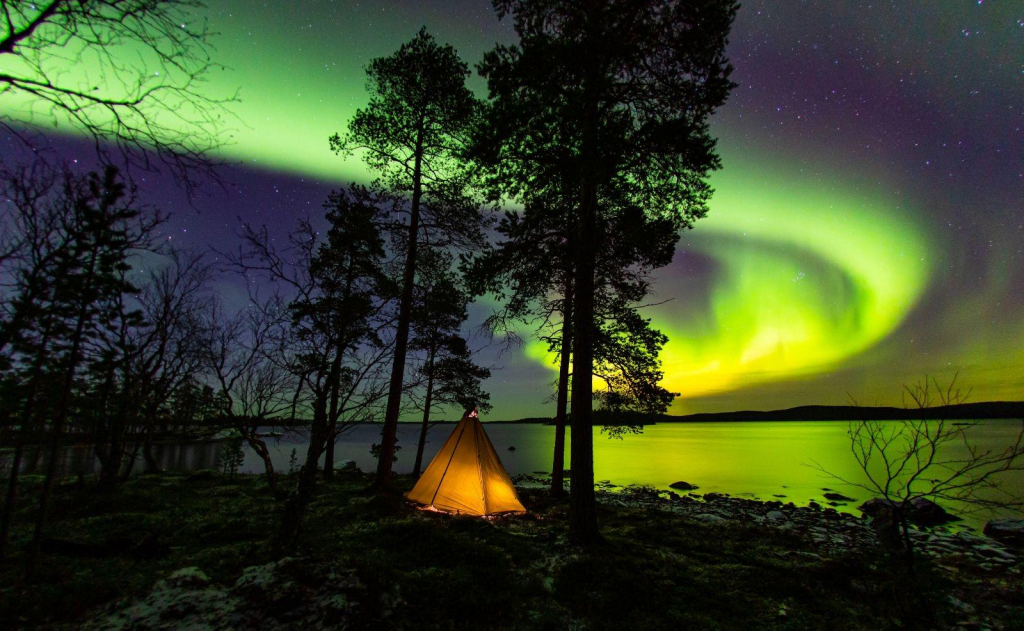
The settings you will use for the northern lights are essentially the same settings as for photographing stars at night. So you can practice by photographing stars before you go. Let’s get to the technique:
Tripod: A tripod is a must. If not, you should definitely get a tripod before you go. Otherwise, what we say here is useless. Otherwise, the image will come out shaky because you will be using a long exposure.
ISO Setting: It is necessary to bring the camera to the maximum ISO values where the quality of the photo will not deteriorate. It differs for each machine. This can be increased to higher values on machines with very good low light performance.
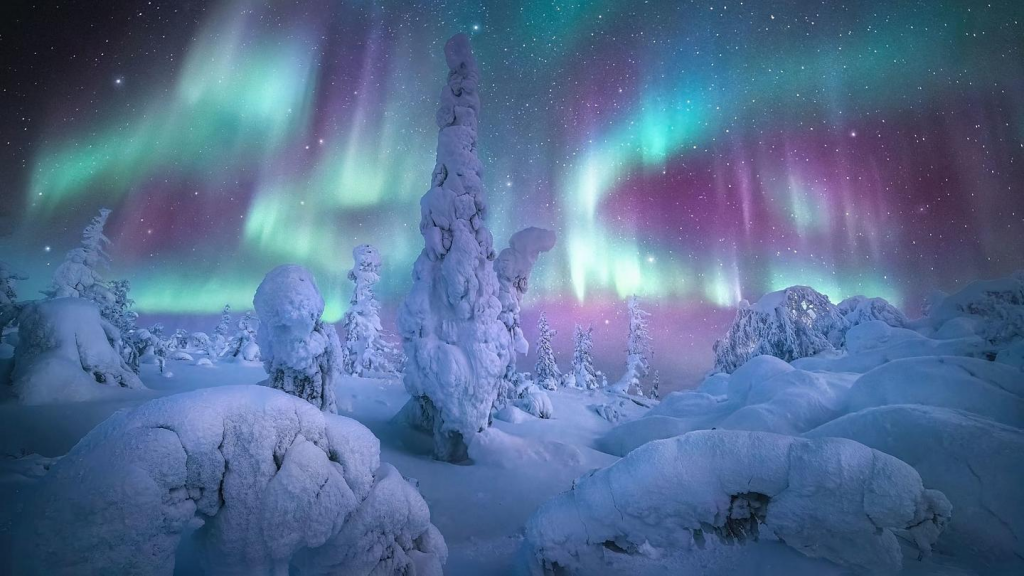
Aperture Adjustment: The larger the aperture of your lens, the better. F4 and below is an advantage. (Low numbers in F value, ie aperture, mean wider aperture. So F1.8 is better than F2.8, F2.8 is better than F4)
Shutter : The final setting is the shutter speed. So snapshot. You adjust this according to the intensity of the lights. If it is very severe, it can save even 5 seconds, if the severity is low, 20-25 seconds may be required.
Focus: You need to shoot with manual focus, not auto focus. If you focus on a very, very distant light or moon, you’re done. Or you need to bring the focus to the infinity sign on your lens. What we have told so far are the long exposure settings required to take a star photo.
IMPORTANT: Let’s get to the main tip. How do you shoot the Northern lights with you in front of it?
1- Since you are taking a long exposure (shutter time is minimum 5 seconds), you should not move at all during the shooting time.
2- You need a light source on you. Since it will be a long exposure, instead of shining a light on you from a very weak source (we did it this way because we didn’t know), the event is solved if the photographer holds a flashlight for 1 second and leaves it under the light. Just don’t close your eyes for that moment.
3- If you stop too close, focus will be a problem again. Keep some distance from the machine.
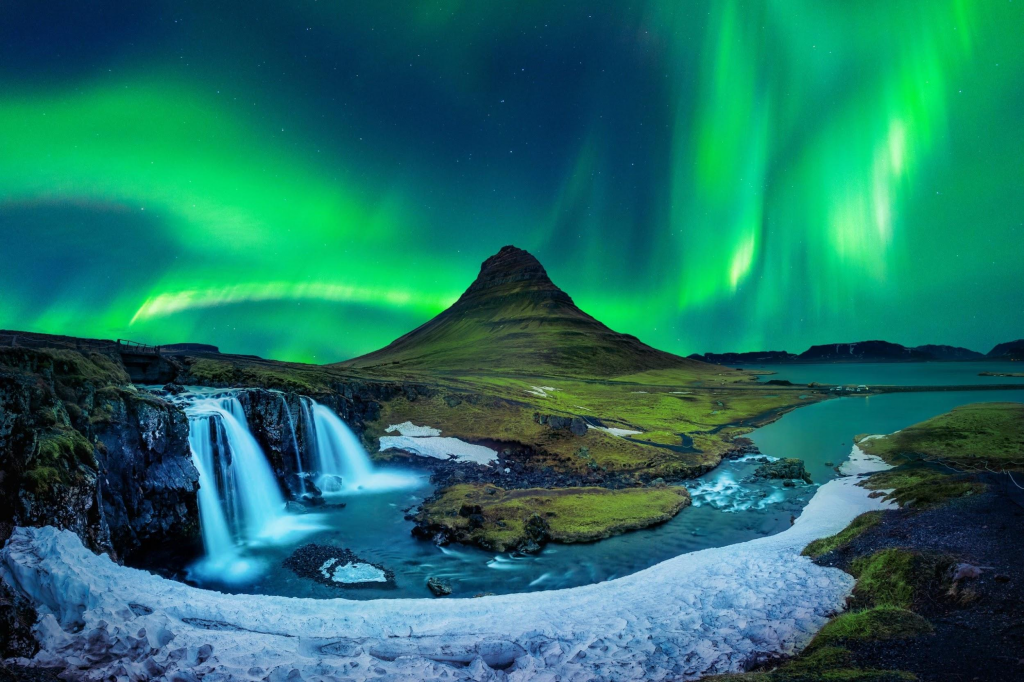
If you don’t have a DSLR camera and would you take a picture of the Northern Lights with a cell phone? If you think the answer is; Yeah!
So how to shoot the Northern Lights with a mobile phone?
1- First, find a dark place.
2- There must be a tripod on which you can fix your phone. (or pin it somewhere)
3- Then put your phone in airplane mode so that it does not vibrate with messages or calls. Even close unnecessary apps.
4- Then clean your lens thoroughly with a microfiber cloth.
5- Manually change the photo settings, if any. Otherwise, download apps that can do this (ProCam, Nightcap, Northern Lights Photo Taker, Cortex Camera etc.).
6- Use night mode if available.
7- Turn off the flash.
8- If the intensity of the lights is low, set the ISO value to 800 or more.
9- Touch the screen and focus on the northern lights.
10- Use the long exposure setting. (ideal for 15s phone)
11- If available, give a command to take a photo with a voice command.
12- Edit the photos you take with Photoshop applications as you wish.
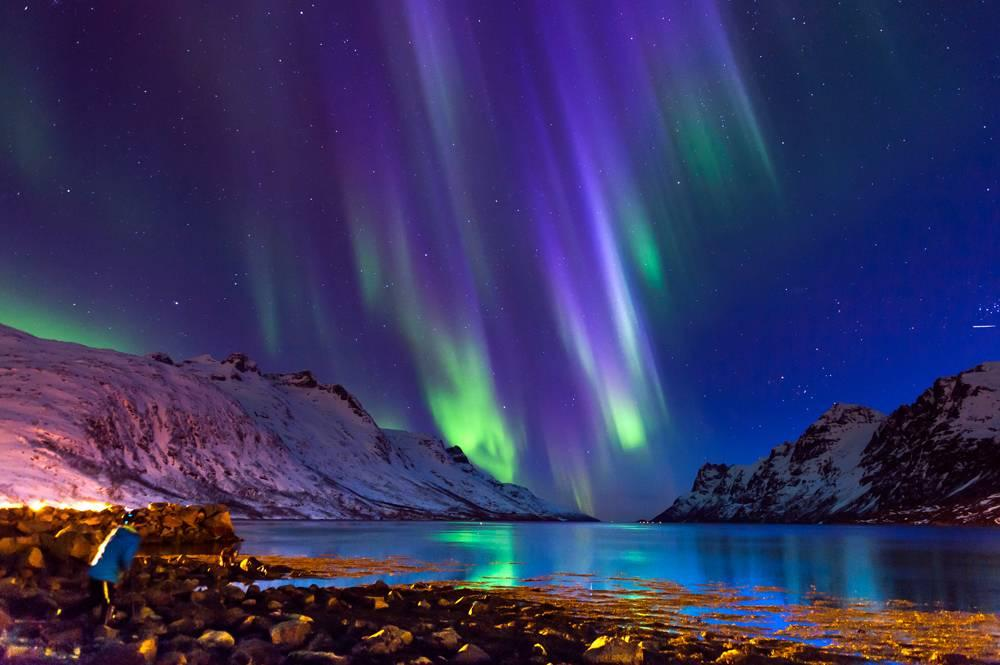
If you don’t have a mobile phone with your camera, or if you think I can’t shoot even if you do, don’t worry. You can find a northern light photographer. You can have your photos and videos taken for a fee by working with photographers that you can easily find on the internet, and you can have immortal frames thanks to the experts in this business. Finally, you should definitely tamper with your machine beforehand and learn how to use it thoroughly. Because while watching this visual feast, you may miss the lights while looking at the settings of your camera instead of looking at the lights.


